[AI-Research][03]如何在Anaconda安裝tensorflow 2.0

前置作業:
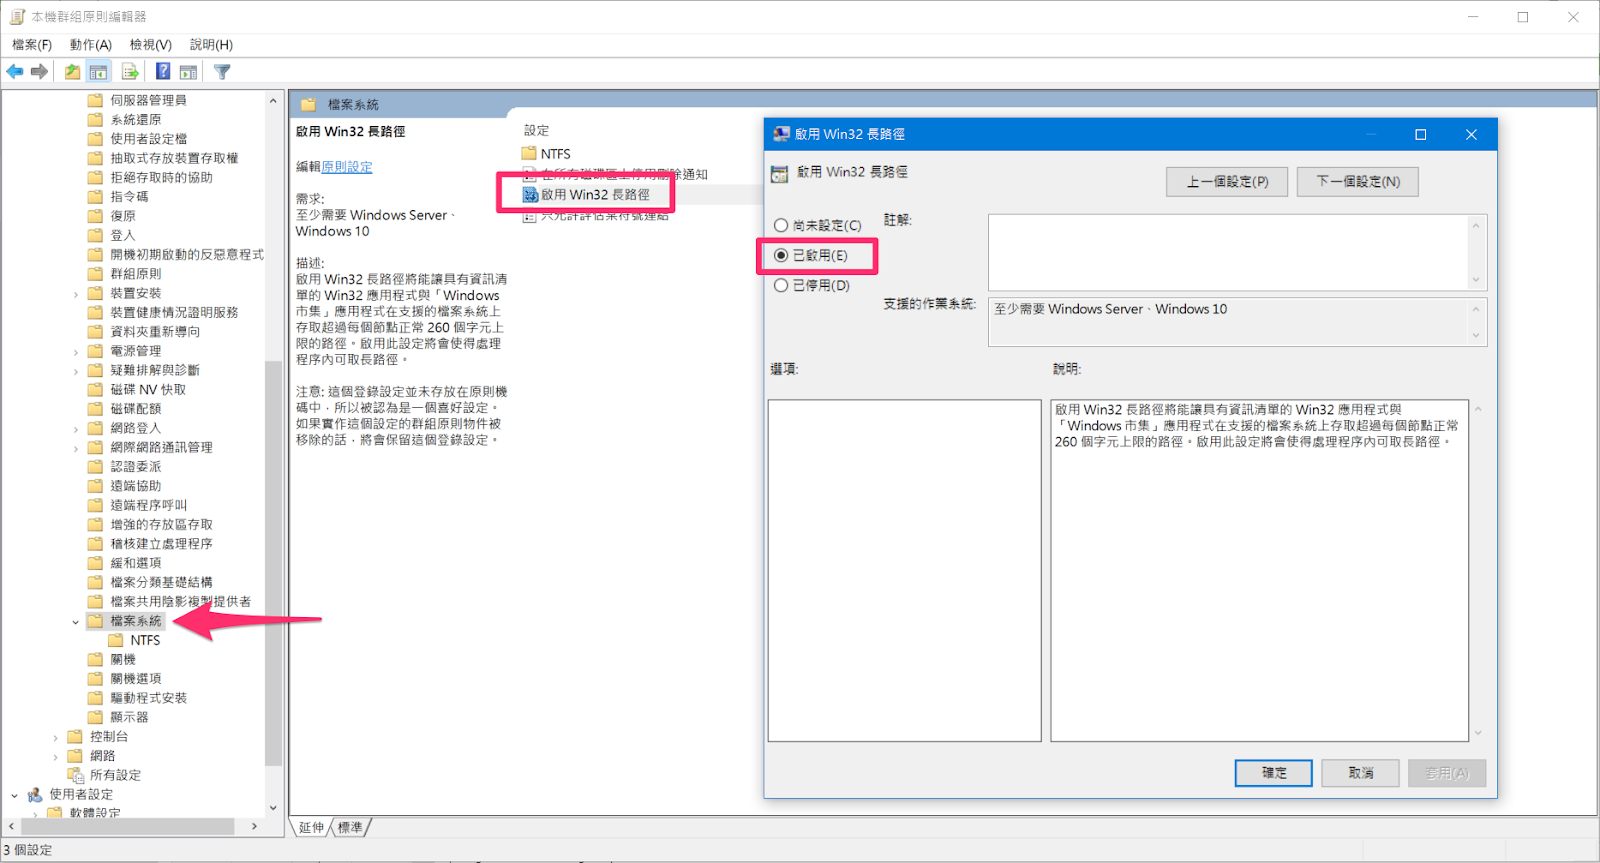
1.在“群組原則”開啟“啟用win32長路徑”(企業版系統才有群組原則)
電腦設定/系統管理範本/系統/檔案系統>>>啟用win32長路徑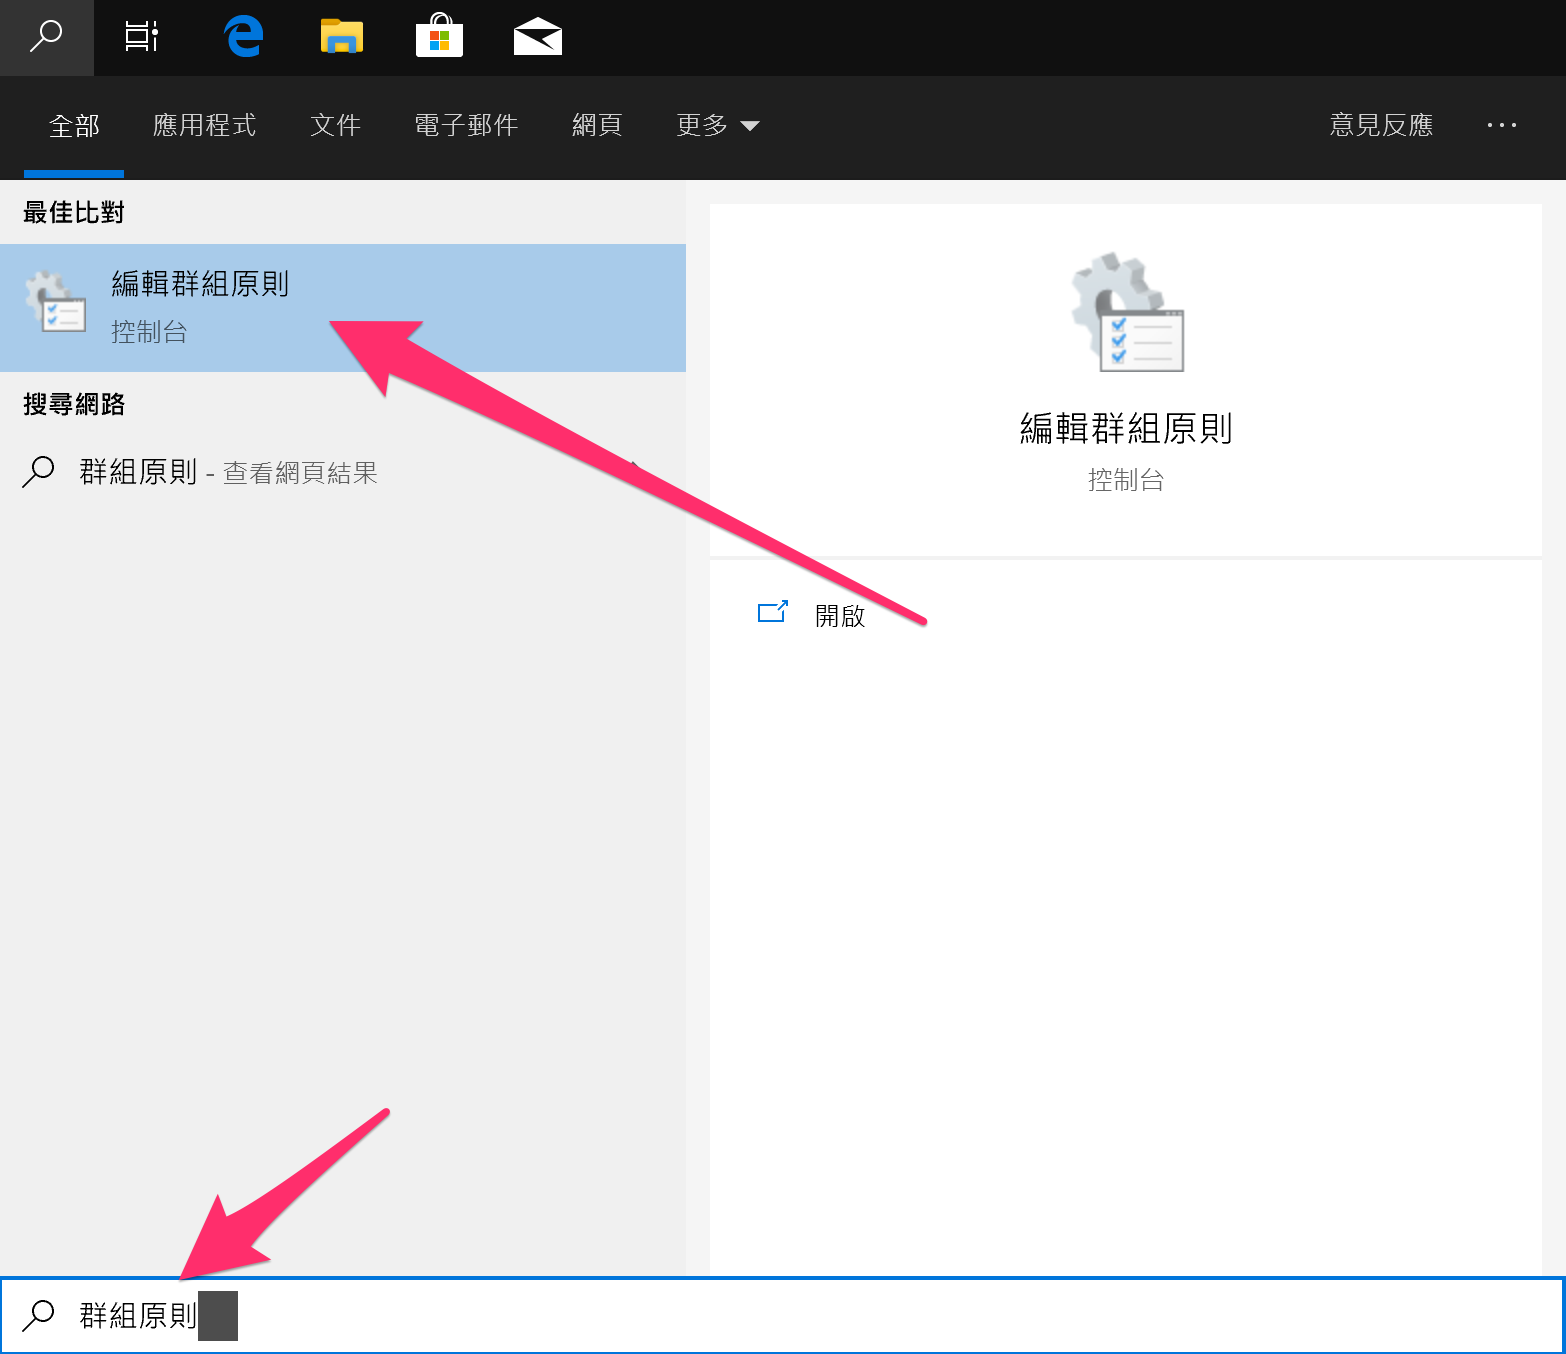
設定成“已啟用”
2.設定新的環境,名稱為keras_TF2,並啟用
conda create -n keras_TF2 pip python=3.7
Win:
activate keras_TF2
Mac:
conda activate keras_TF2

3.更新spyder至作新版本
conda update -n base -c defaults conda

4.安裝tensorflow 2.0以及Keras
CPUpip install tensorflow==2.0.0-rc1 keras
GPU
pip install tensorflow-gpu==2.0.0-rc1 keras

5.測試環境
python
import tensorflow as tf

第一行代表引入tensorflow函數庫
如果沒有出錯,則會看到沒有任何警示訊息的第二行
6.(選擇性)安裝其他函式庫
#逐一安裝函式庫pip install numpy
pip install pandas
pip install sklearn
pip install matplotlib
////////////////////////////////////////////////////
#一次安裝函式庫
pip install numpy pandas sklearn matplotlib
#注意,安裝keras的時候,不要使用“Conda install”安裝
因為他會安裝舊版的tensorflow 1.14蓋掉新版的tensorflow 2.0Conda install keras……(X)
pip install keras ……(O)
#如果出現hdf5檔案版本不匹配的問題的話

更新hdf5至”library”指定的版本(這邊是1.10.5)
1.先增加conda-forge這個channels
conda config --append channels conda-forge
2.安裝
conda install hdf5=1.10.5
留言
張貼留言
歡迎留下您的心靈足跡👍